I had two RTX 3090s and the compute of roughly one. This is the rebuild that put both cards on native PCIe in a single box — and the measurement, three weeks later, that showed why the obvious upgrade after that is probably not the one you would guess.
Where this started
The old arrangement was two machines pretending to be one. A Windows workstation held the first RTX 3090. A small NUC held the second one, attached over Thunderbolt through an external GPU enclosure. On paper: 48 GB of VRAM. In practice: a fragile link, a cold-load fault that surfaced mid-session often enough to earn its own workaround script, and a second card that spent most of its life being addressed over the network.
The workstation itself was still a good platform — an X299 board with plenty of PCIe lanes, which is exactly what a dual-GPU box needs and exactly what mainstream desktop boards do not have. So the plan was not “buy a new machine”. It was: take the good platform, put both cards in it, and turn the whole thing from a Windows box into a hypervisor host.
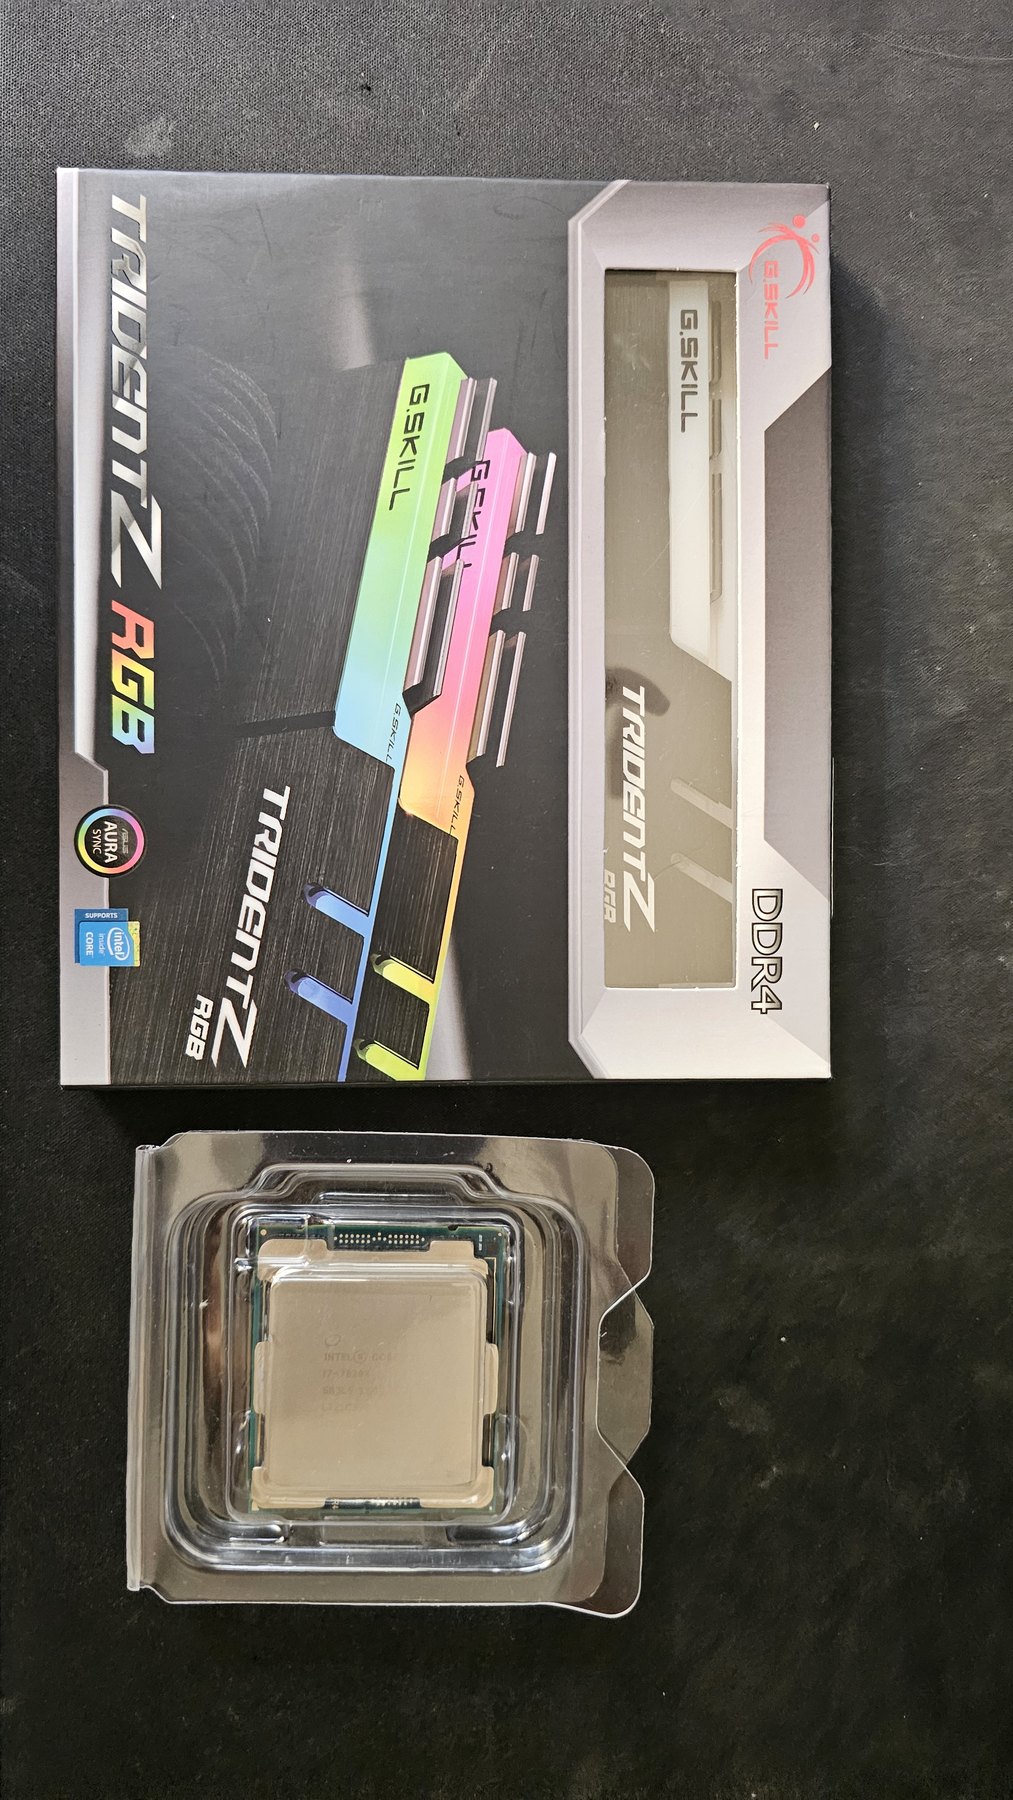
The build
New CPU into the LGA2066 socket — an Intel Core i9-10920X, twelve cores, which is unremarkable in 2026 and completely fine for the job. A GPU host spends its CPU budget on scheduling, tokenizing, and I/O, not on the model itself.
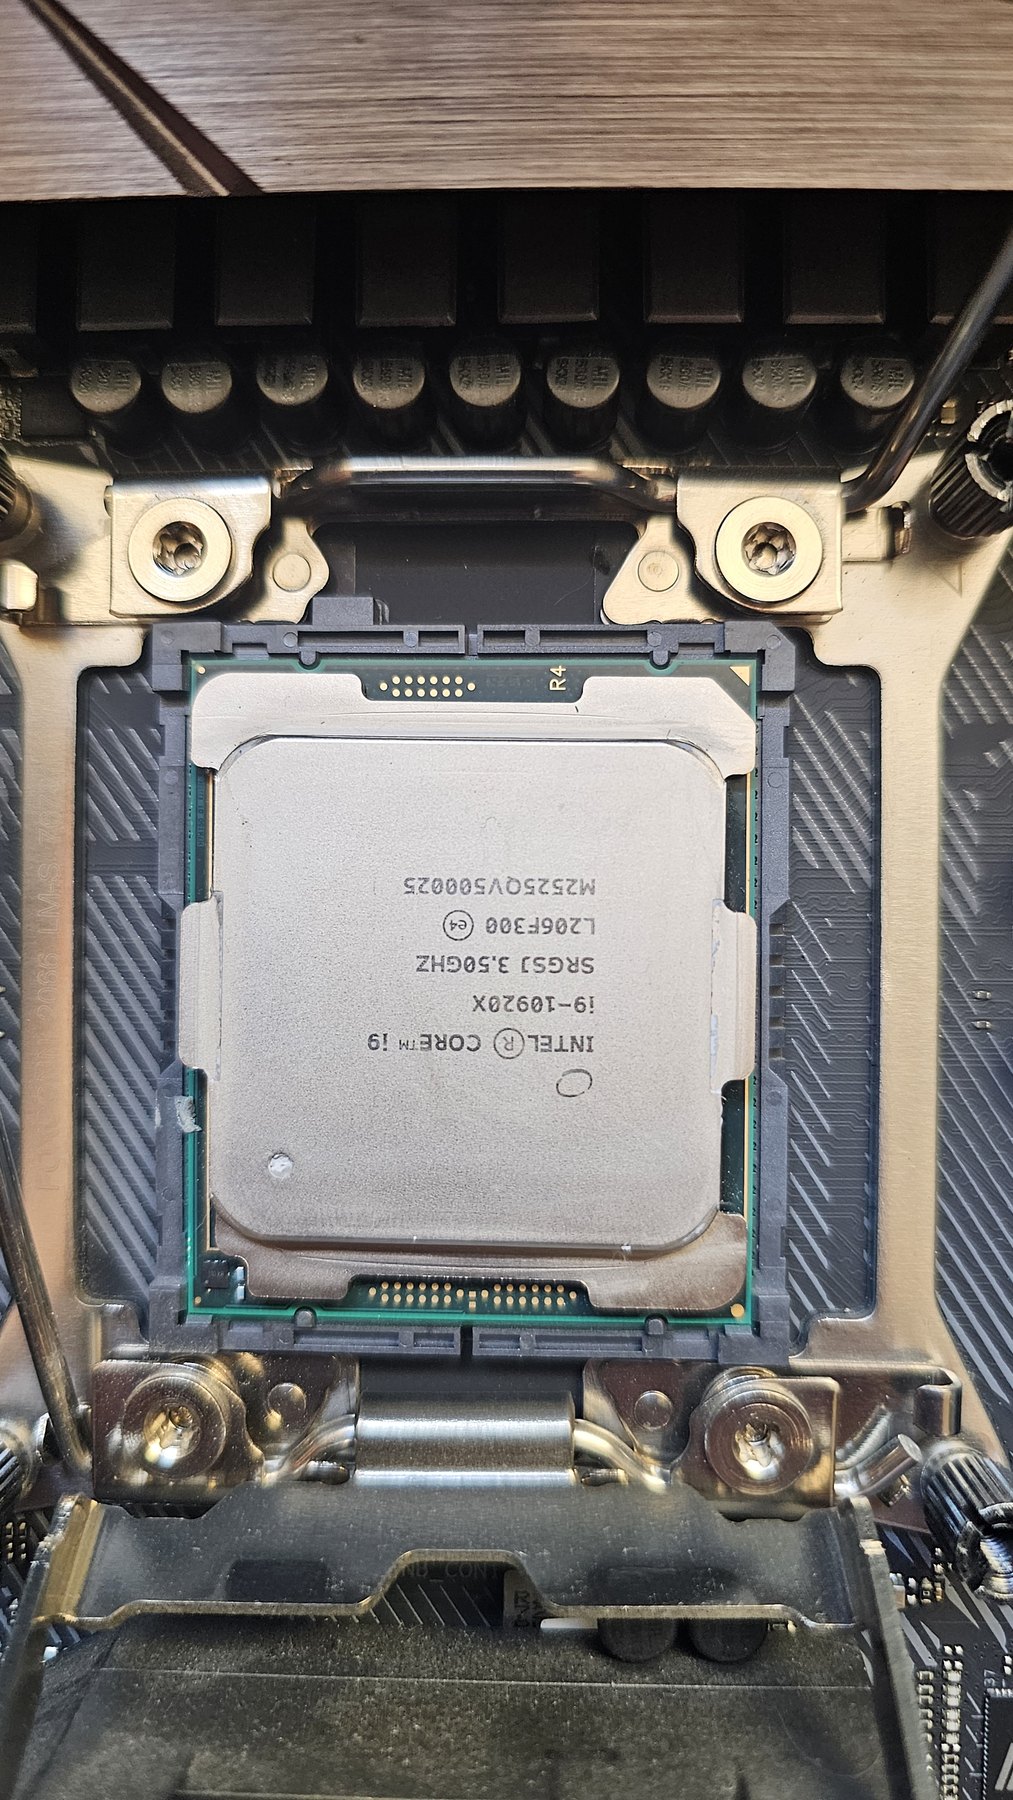
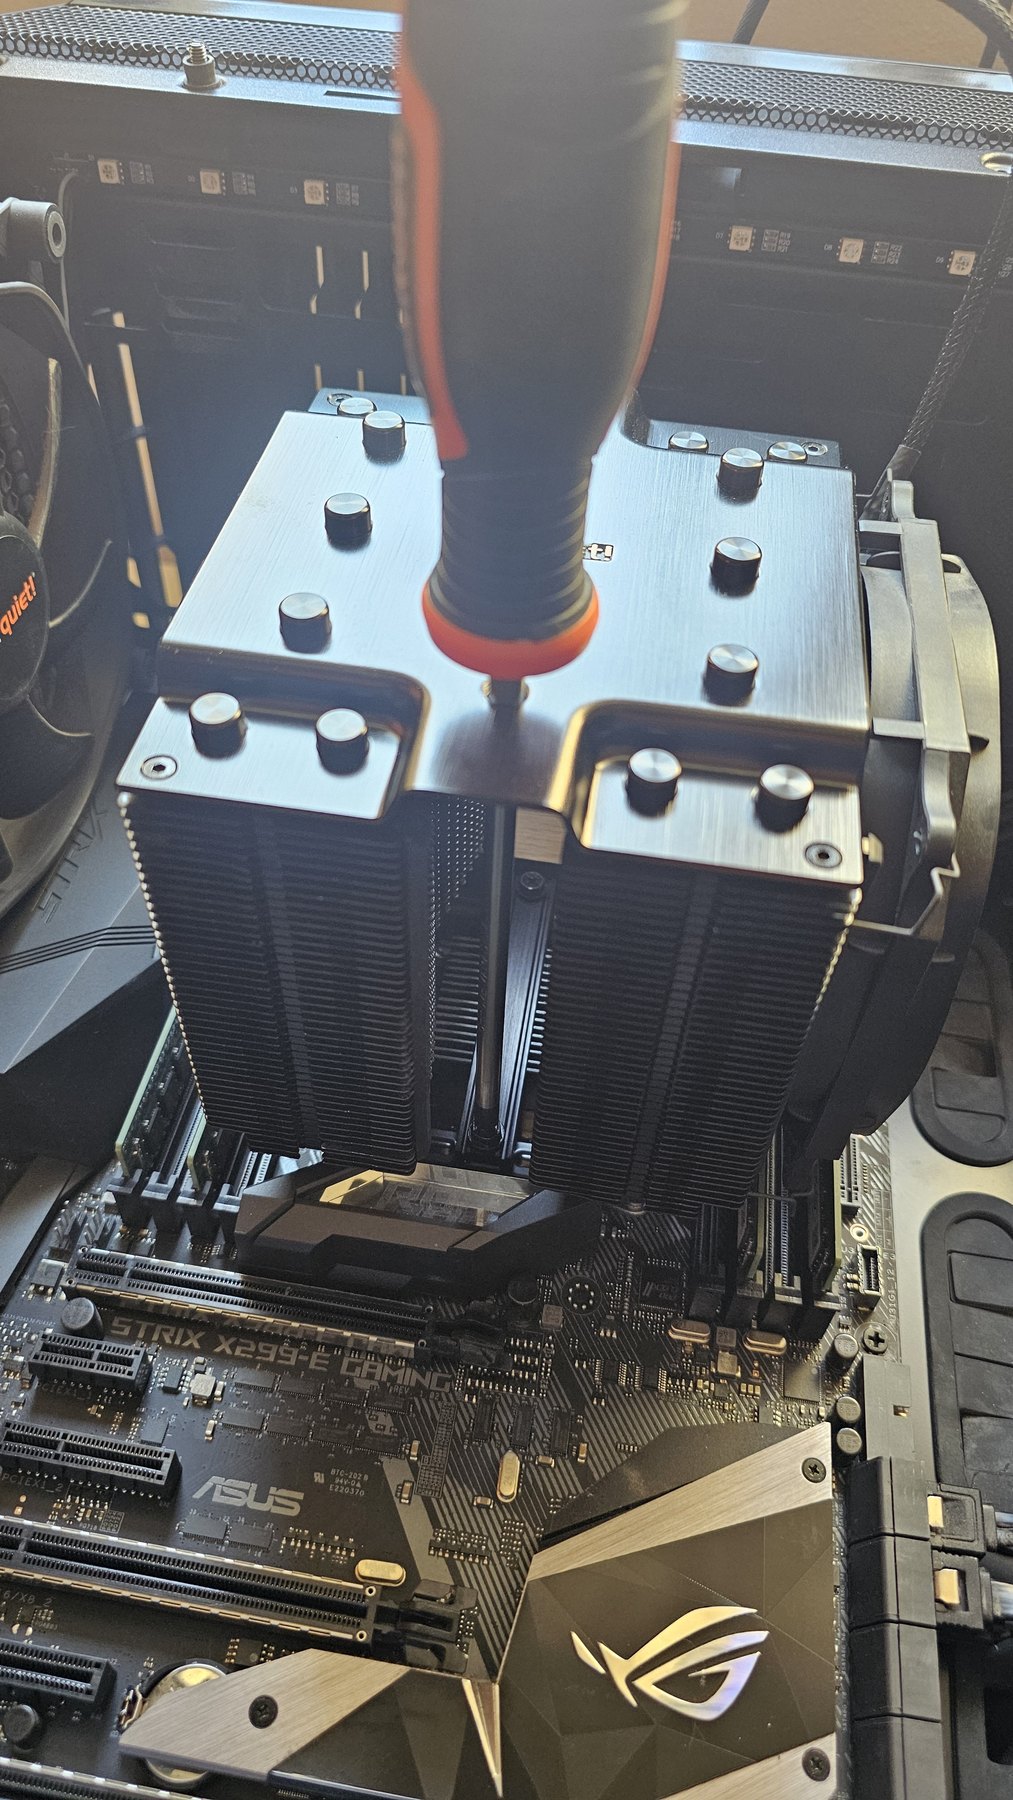
A dual-tower air cooler on top. No liquid loop: this machine is meant to run unattended for months, and the failure mode of a pump is worse than the failure mode of a fan.
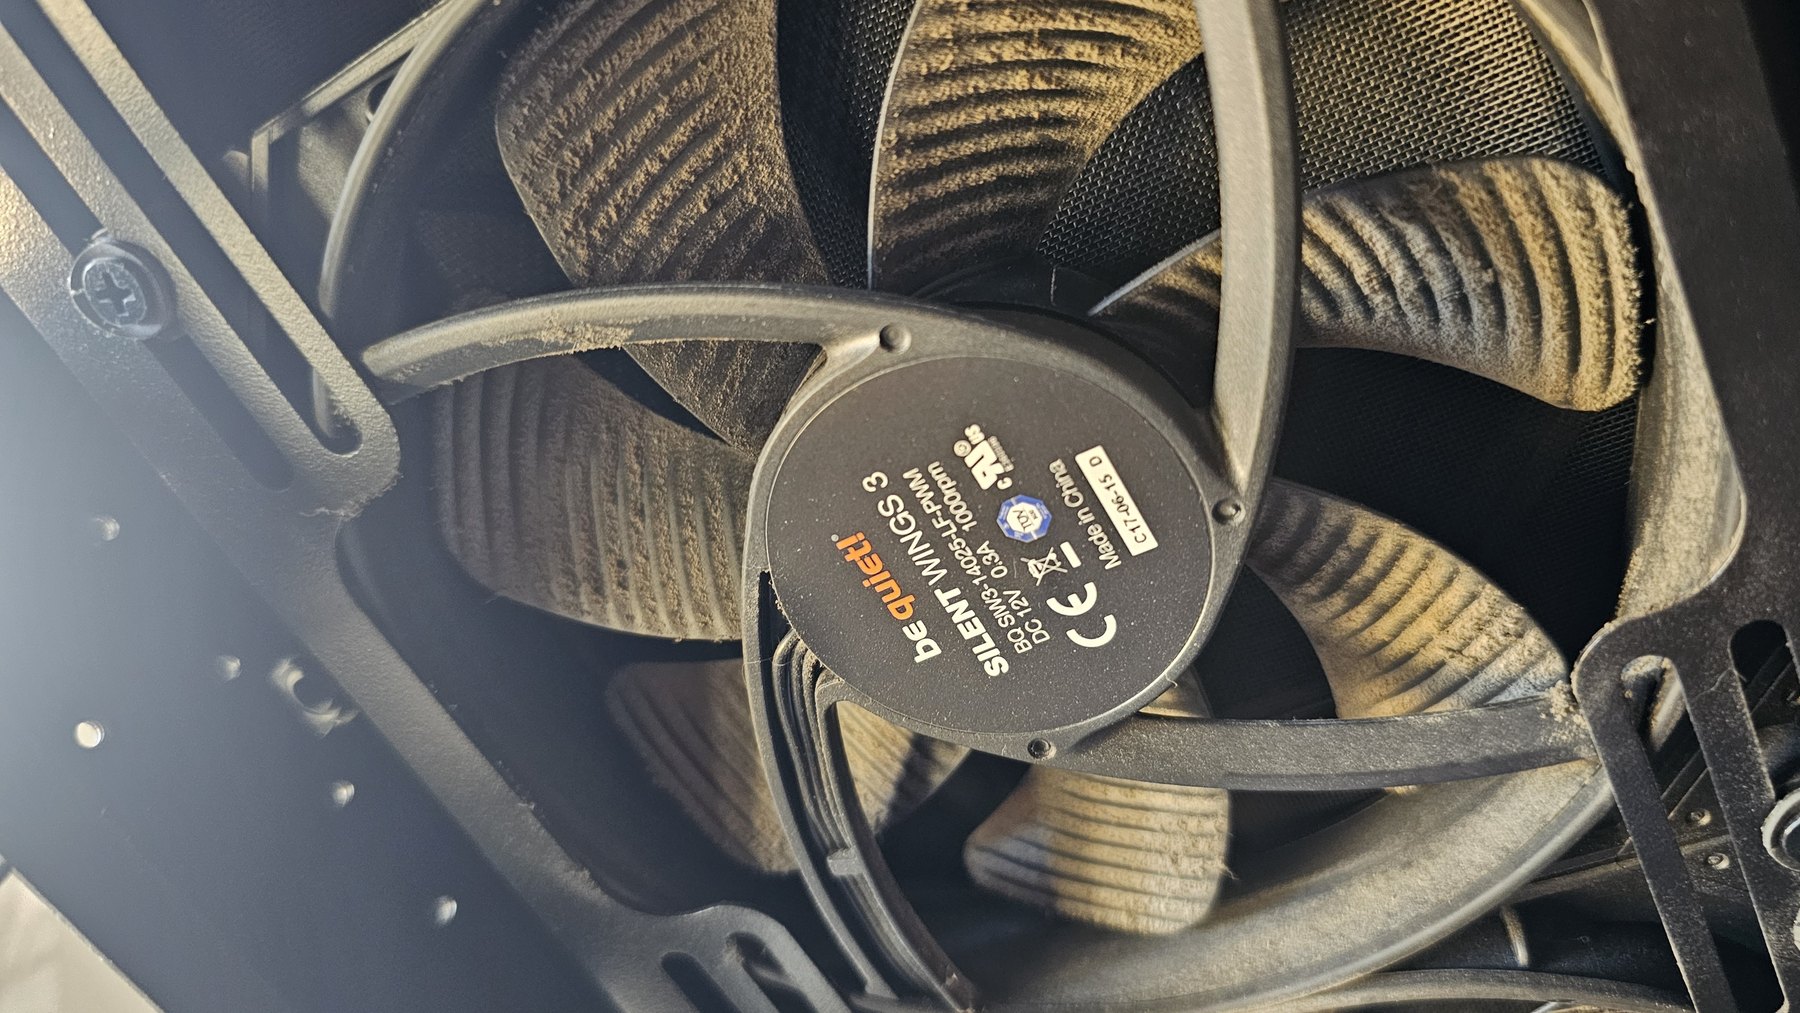
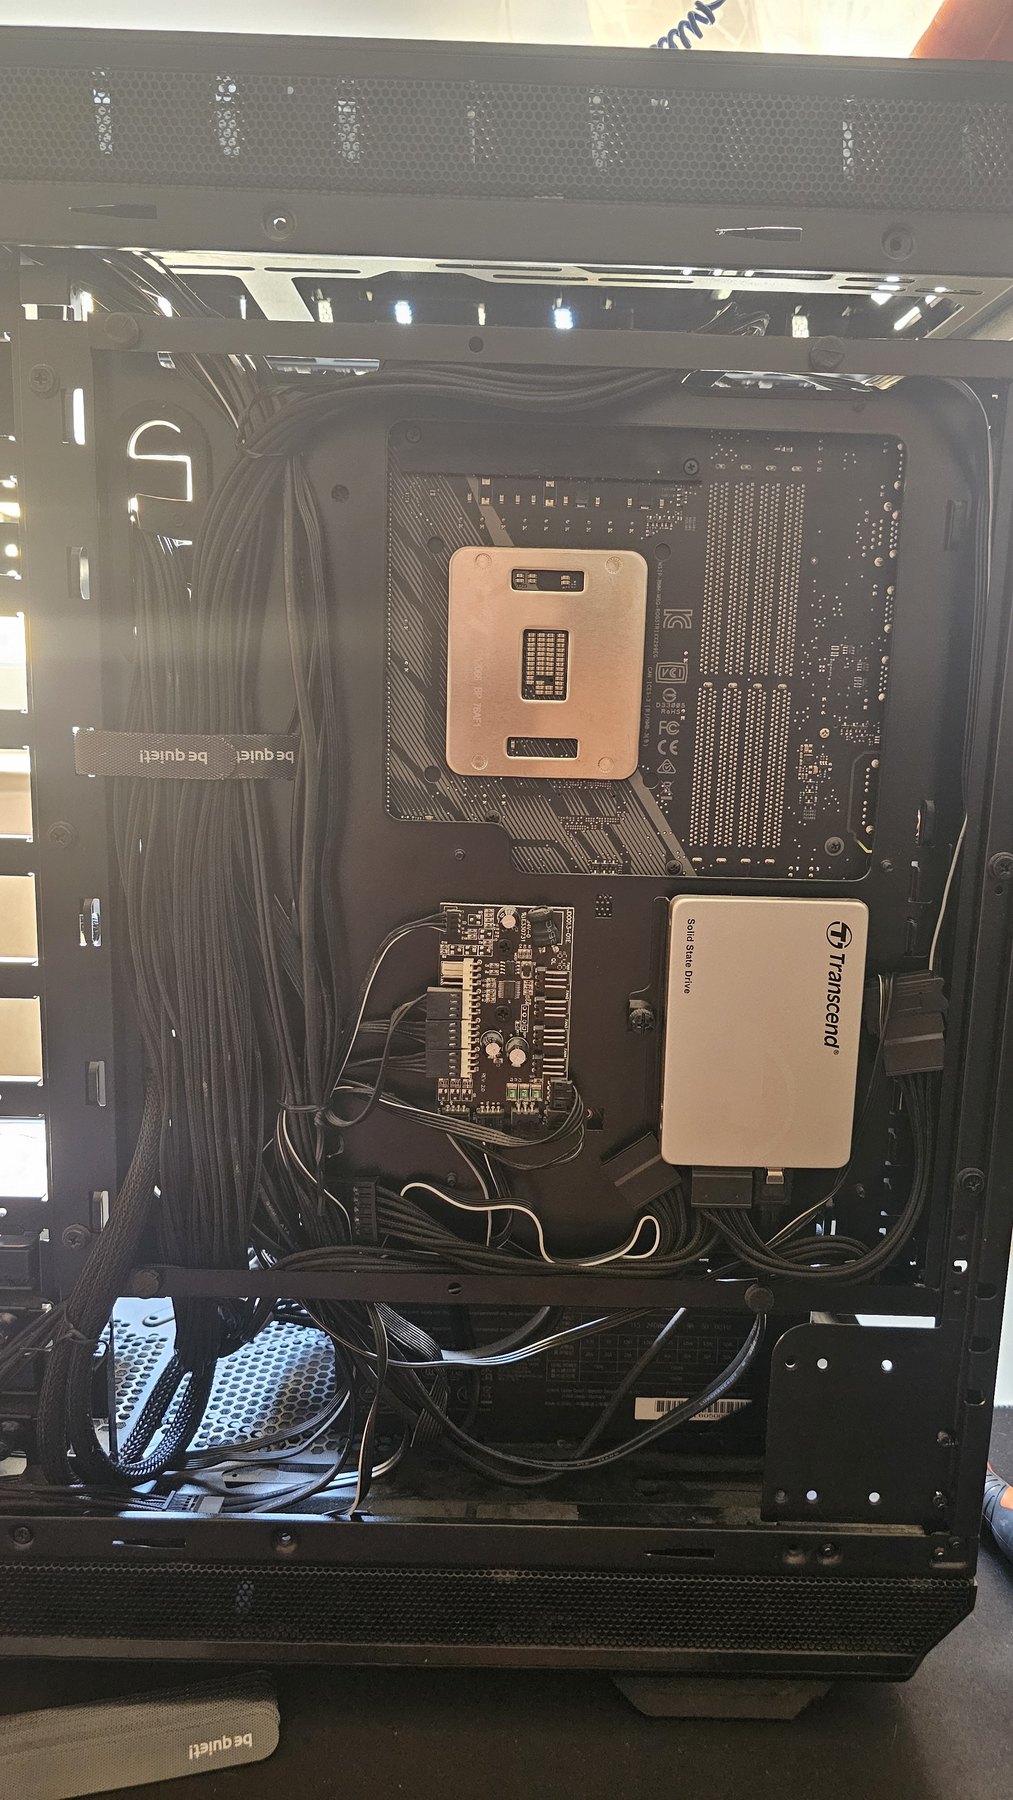
The least glamorous and most overdue part of the job:
Storage went onto a passive carrier card that turns one x16 slot into four M.2 slots — four NVMe drives, mixed capacities, which later became the ZFS layout for VM images, model files, and backups.
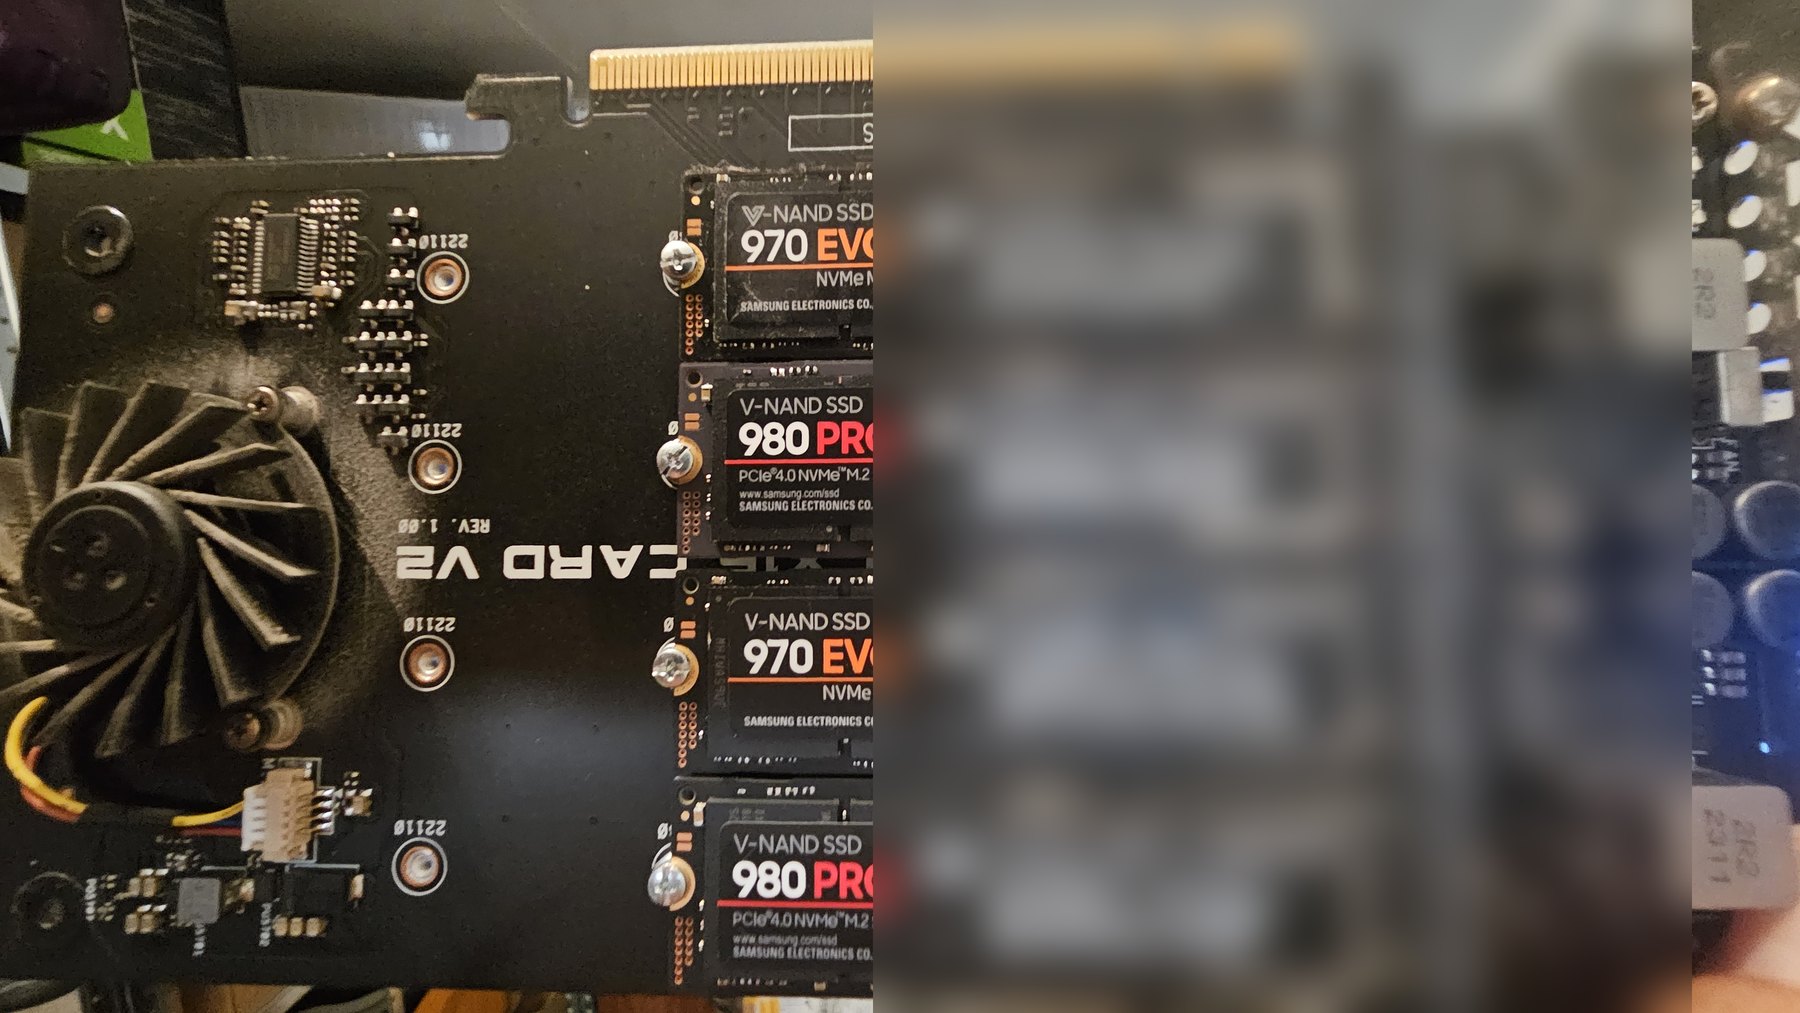
Then cabling, which on a build with two triple-slot cards and a carrier card is most of the actual work.
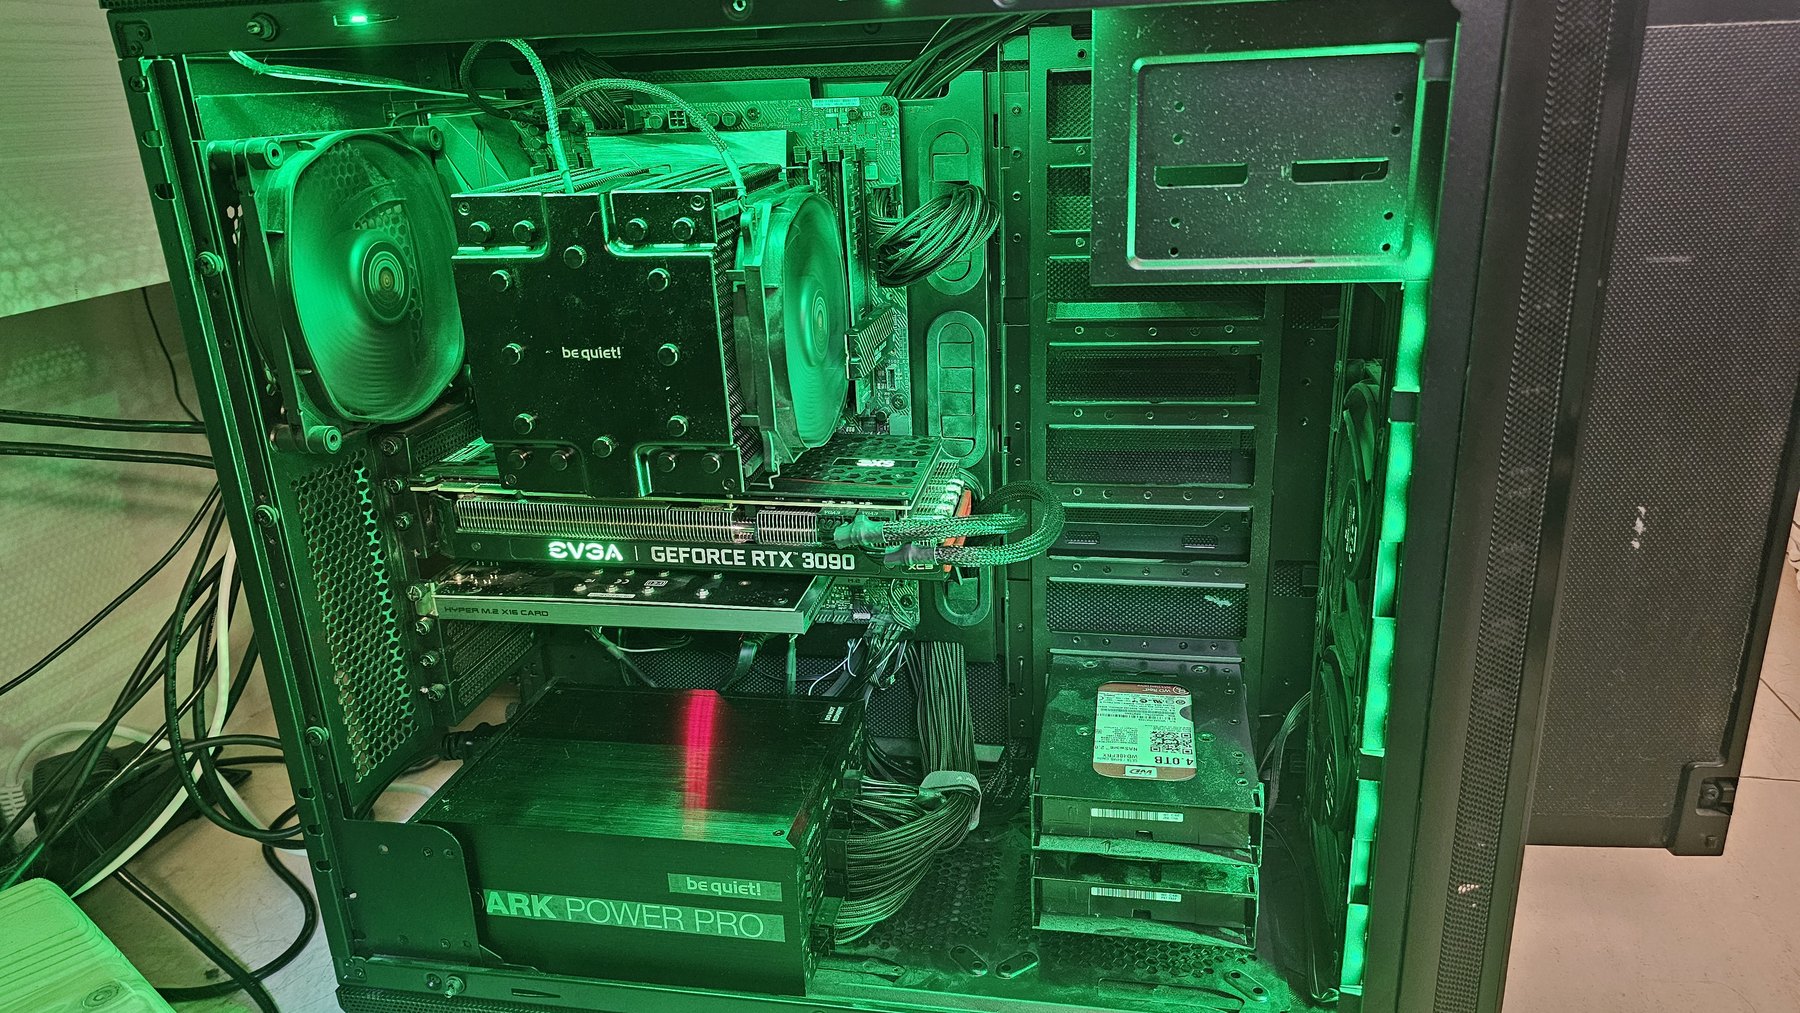
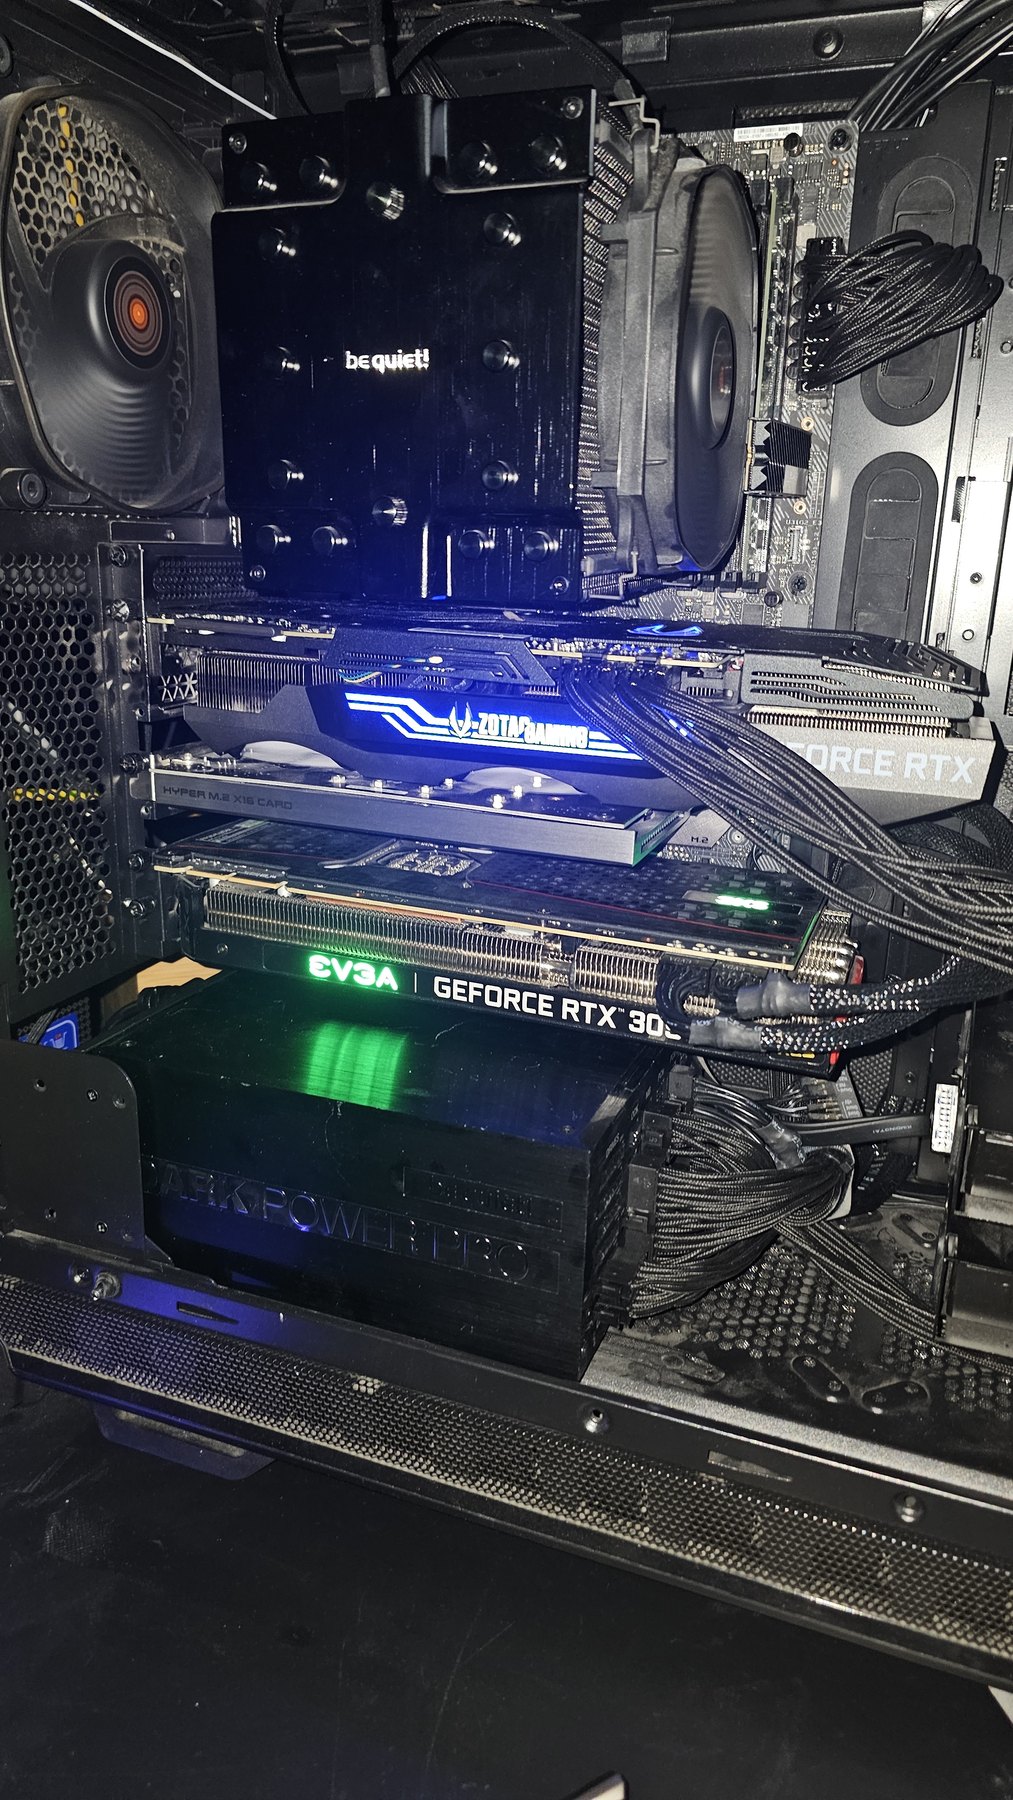
And two days later, the part this was all for:
What actually improved
The honest list is shorter than the build photos suggest, but every item on it is real:
- The Thunderbolt link is gone. That was the single most failure-prone component in the old setup, and removing a failure mode is worth more than most performance work.
- Warm reloads went from minutes to seconds. Not because of the rebuild itself — because the host now has enough RAM that the inference server stops disabling memory-mapped model loading. On the old box, a memory-starved container silently turned every model switch into a physical multi-gigabyte disk read. Hundreds of them per day.
- One machine to reason about. Both cards visible to one hypervisor, one place to look when something is wrong.
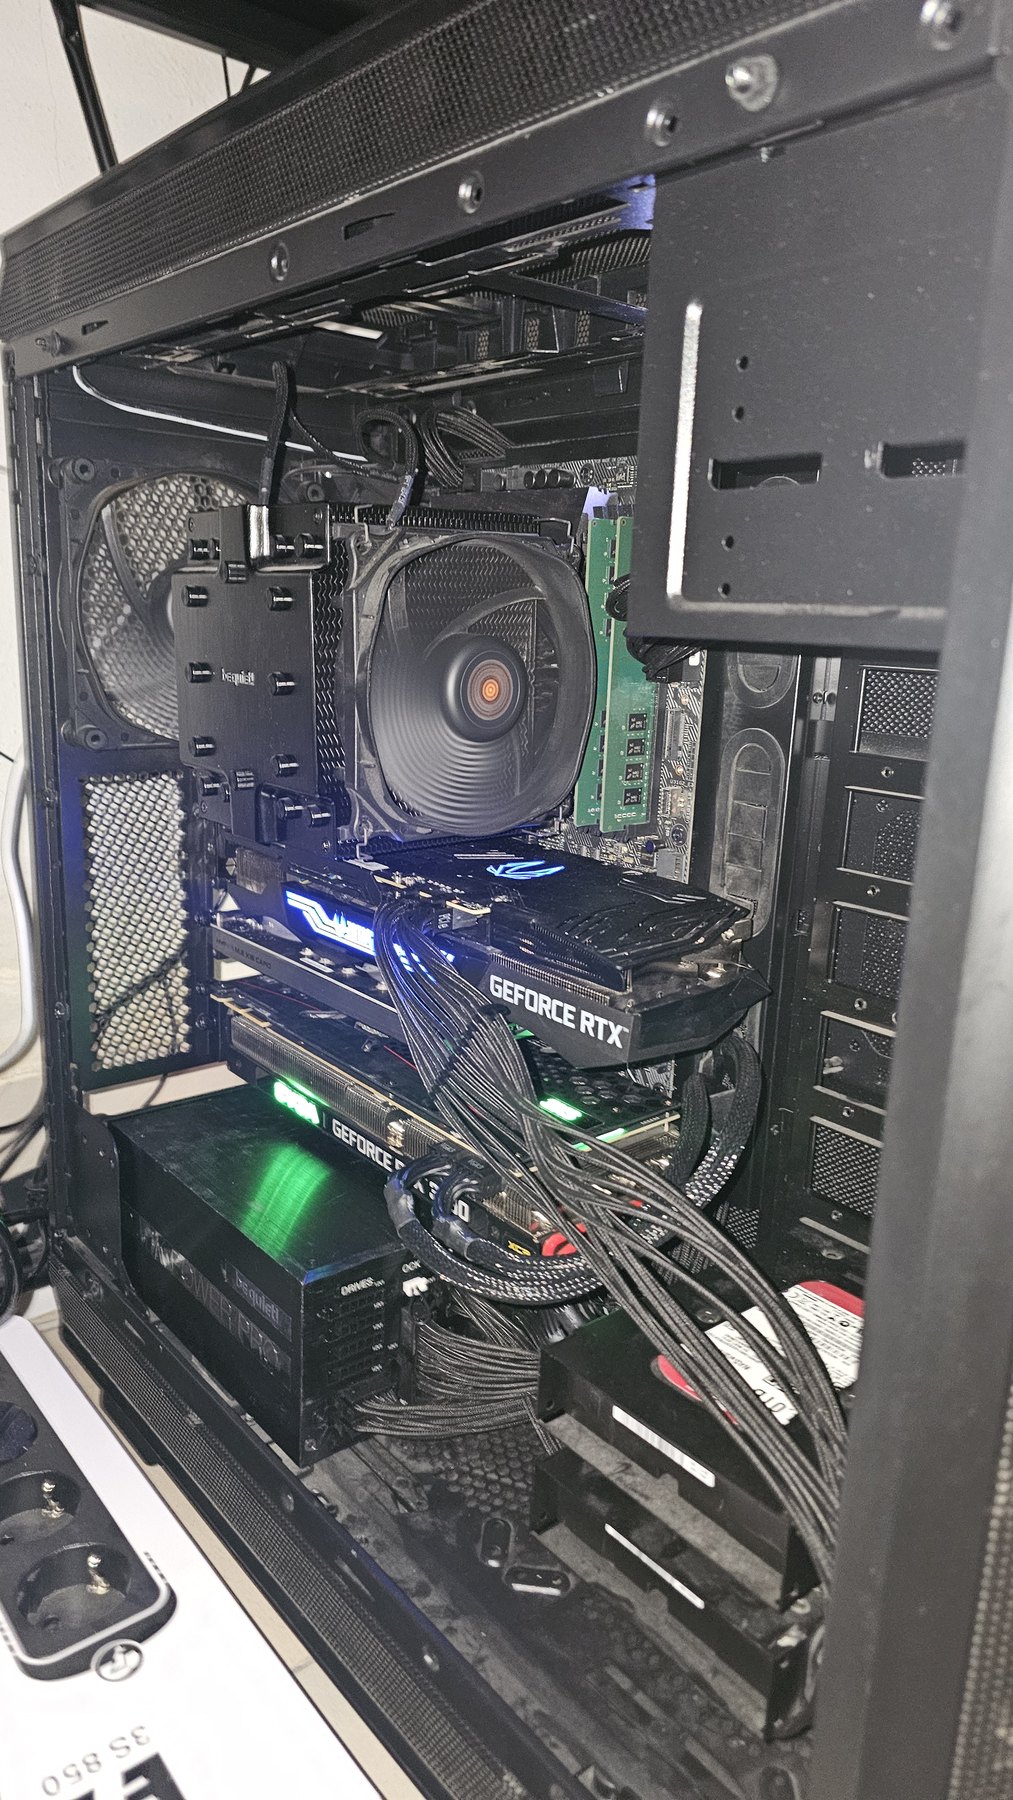
The uncomfortable part: 48 GB is not 2× the speed
Here is the finding I did not expect to have to write down.
When a model is too large for one card, the usual inference stack splits it by layers: layers 0 to n go on card 0, the rest on card 1. A token enters card 0, works its way up, crosses to card 1, works its way up again, and comes out. That crossing happens once per token and moves a few megabytes — nothing that stresses a PCIe link.
But look at what the cards are doing while that happens. Card 1 sits idle while card 0 computes. Then card 0 sits idle while card 1 computes. At any instant, one of your two GPUs is waiting. Layer splitting buys you memory capacity. It does not buy you throughput.
That reframes the obvious upgrade. The instinct, once you have two cards in one box, is to bridge them — and for these cards a bridge exists. But a faster link between two components that never talk much cannot help. The bottleneck is not the wire; it is that half the silicon is idle.
There is a mode that does use both cards at once: splitting the tensors themselves rather than the layers, so both GPUs work on every layer together. That mode does generate constant inter-GPU traffic — and that is the one where a fast bridge would matter. Which turns “should I buy a bridge?” from an opinion into a measurement:
- Tensor split is faster over the existing link → free performance, no purchase needed.
- Tensor split is slower → the interconnect is provably the limit, and a bridge would pay for itself.
- No meaningful difference → a bridge would be money spent on inference for nothing, and only training would justify it.
That measurement is scheduled. I am writing the question down before I know the answer, because a prediction recorded afterwards is not a prediction.
One practical wrinkle that the build photo already hints at: my two cards are from different vendors. Bridges come in fixed slot spacings, and coolers of different thickness are a common reason a bridge that should fit does not. Measure before you buy.
The reality of a home lab
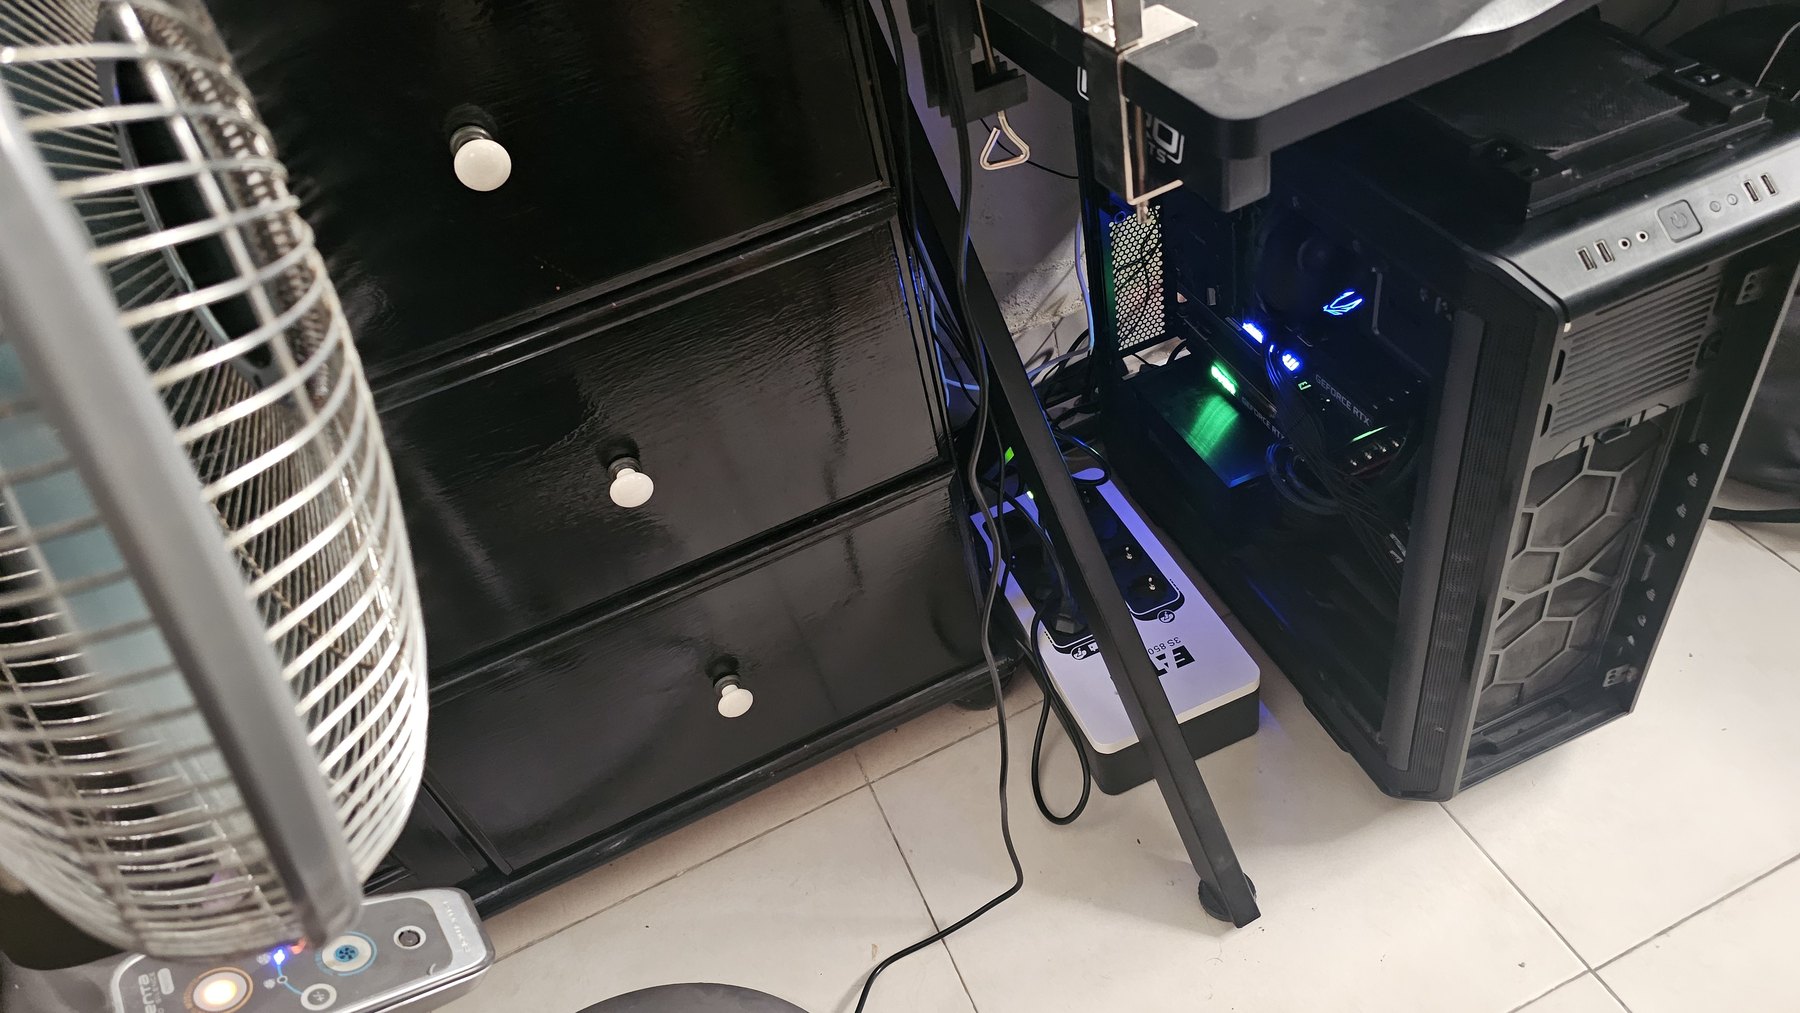
This is what it actually looks like. A tower on a tiled floor, a household pedestal fan aimed at the intake because two 3090s under sustained load put out more heat than the room can shed on its own, and a UPS on the floor because the alternative is discovering what an unclean shutdown does to a ZFS pool.
I am including this photo deliberately. Build write-ups tend to end at the glamour shot, and that quietly misrepresents what running hardware at home is like. The fan is not a joke — it is load-bearing.
What I would tell my past self
- Buy the platform for the lanes. The CPU generation barely matters for a GPU host. The number of PCIe lanes decides whether a second card and an NVMe carrier can coexist.
- Removing a fragile link beats adding performance. The Thunderbolt enclosure worked, right up until it did not, and always at the worst moment.
- Give the host enough RAM even though the model lives on the GPU. Memory-mapped loading is the difference between a two-second model switch and a two-minute one, and the software will disable it silently when memory is tight.
- Two cards are a capacity upgrade, not a speed upgrade — unless you deliberately change how the model is split, and then you have a whole new variable to measure.
- Clean the fans. Genuinely.
A note on the blurred photo
The SSD carrier picture has its label area blurred. Those labels carry each drive’s PSID — the code that lets anyone with physical access cryptographically reset a self-encrypting drive. It is printed on the sticker precisely because it is meant to be an out-of-band reset path, and it was legible as text and as a scannable code in the original frame.
While checking that, I found something worse: every photo in this article was carrying GPS coordinates in its EXIF metadata. Every single one. Phone cameras geotag by default, and a build photo taken at home is a photo of where you live. All twelve images were stripped of metadata before upload — and I verified the stripping against an untouched original, because a check that always says “clean” is not a check.
If you post hardware photos, do both: strip EXIF, and look at what is written on your components before the internet does.